How to practise a handwritten signature
A new signature needs repetition before it looks natural, not a single perfect attempt.
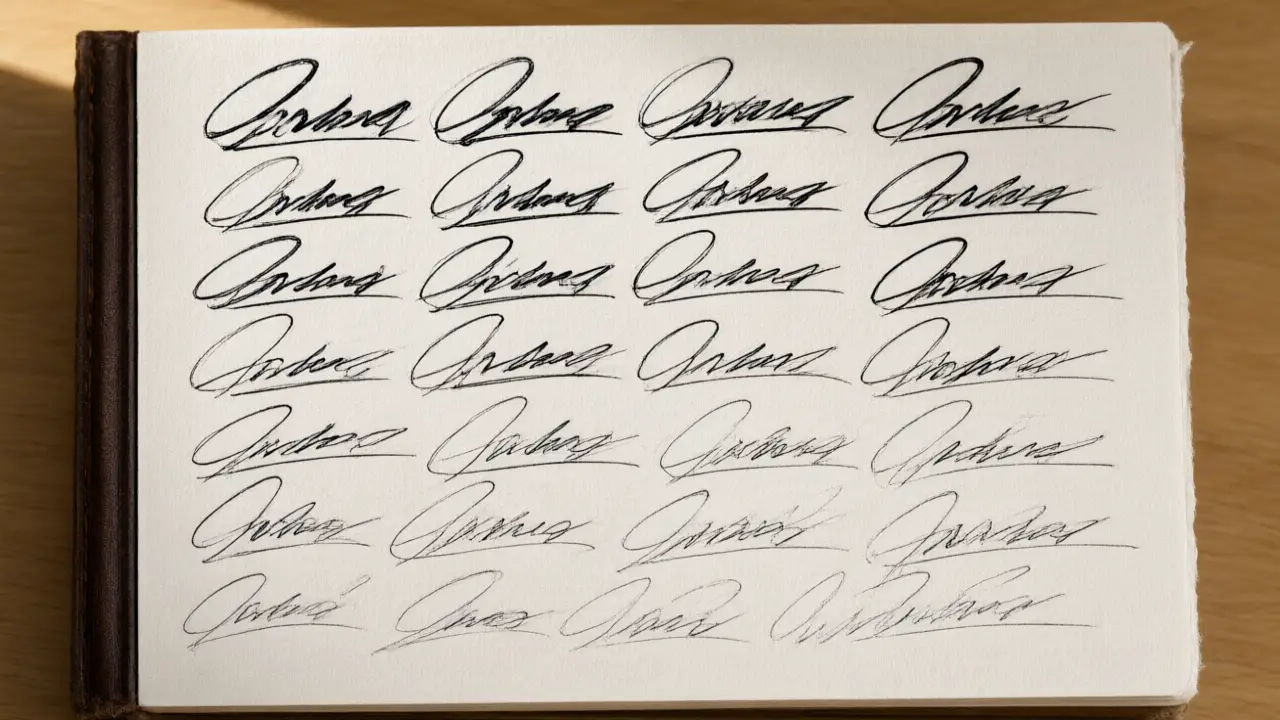
A new signature style rarely looks right on the first try, because it is unfamiliar to your hand — the fix is repetition, not searching for a better version. Write it twenty or thirty times in a row and let your hand find its own shortcuts.
Getting the mark off the paper
Write on unlined white paper with a dark pen, photograph it straight down in daylight, and let the background be as bright as possible. How to practise a handwritten signature start here: everything the software can do later depends on this one clean capture.
Practise at the speed you will actually sign at, not slowly and carefully. A signature perfected in slow motion often falls apart the first time you sign quickly, which is the only way most signatures actually get used.
Placing it on the document
The finished signature should be a transparent image, cropped close, sized to the signature line rather than to the page. A white rectangle around it is the single most common giveaway that a signature was pasted in.
Once a version survives a fast, repeated run without drifting, it is finished. Chasing a version that looks better only when you concentrate is chasing a signature you will not be able to reproduce on the day it matters.
What makes it hold up
What usually matters in a dispute is not the beauty of the mark but the trail around it: who sent the file, when it was signed, from which address. The drawn signature is the visible part of a much longer record.
You can build any of these online: open the signature generator, draw or type your name, and place the result straight onto a PDF or Word file. Nothing is uploaded — the document never leaves your device.