Scanning a handwritten signature
From paper to a clean transparent image: light, contrast and what to crop away.
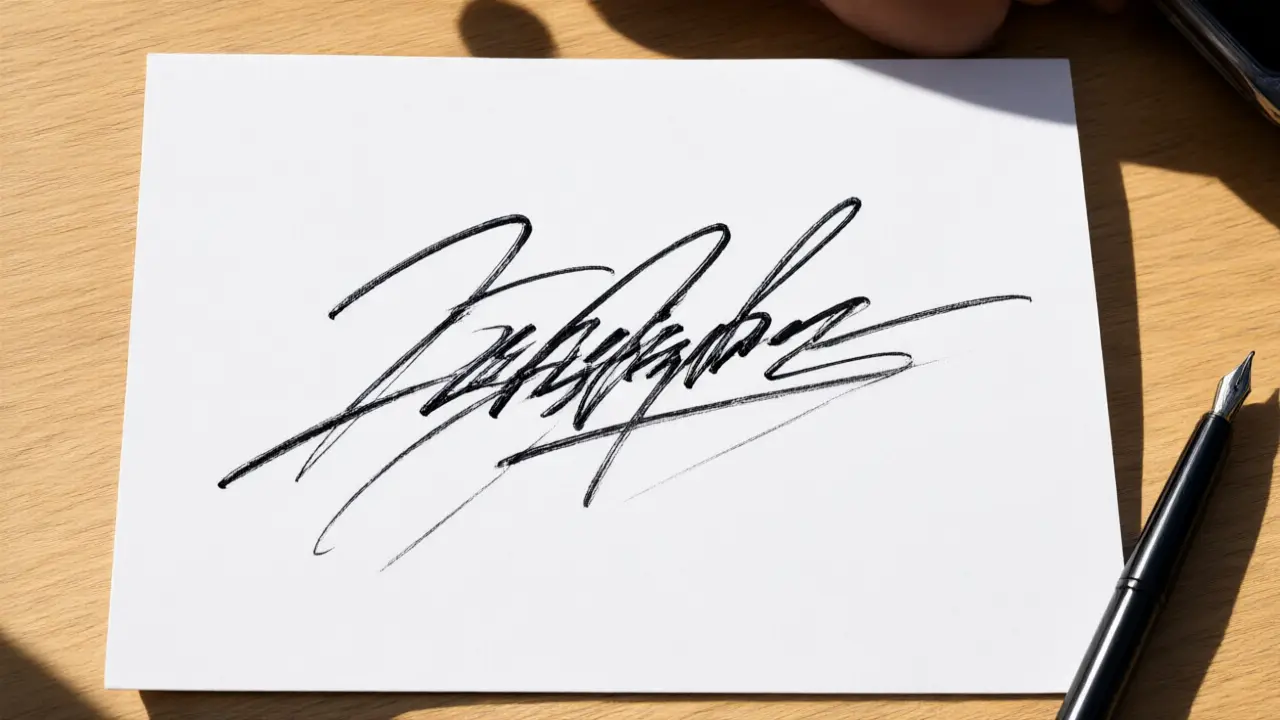
Almost everything about the final quality is decided before the file exists. Unlined white paper, a dark pen, daylight, and the camera held straight above the page will beat any amount of correction afterwards.
Getting the mark off the paper
Write on unlined white paper with a dark pen, photograph it straight down in daylight, and let the background be as bright as possible. Scanning a handwritten signature start here: everything the software can do later depends on this one clean capture.
Shadows are the enemy. Photographing at an angle or under a desk lamp leaves a grey wash that survives every cleanup step and turns into a dirty box behind the signature.
Placing it on the document
The finished signature should be a transparent image, cropped close, sized to the signature line rather than to the page. A white rectangle around it is the single most common giveaway that a signature was pasted in.
Crop close, remove the background so the paper becomes transparent, and check the result on a dark surface. Anything left over will be visible the moment the document is not white.
What makes it hold up
What usually matters in a dispute is not the beauty of the mark but the trail around it: who sent the file, when it was signed, from which address. The drawn signature is the visible part of a much longer record.
You can build any of these online: open the signature generator, draw or type your name, and place the result straight onto a PDF or Word file. Nothing is uploaded — the document never leaves your device.